Timesheet User Guide
Here are some helpful links to guide you on getting started.
Getting Started
-
Add all your Location (if you have more than one office/location)
-
Add your current employees and print or email Staff ID's to employees
-
Download the App from Apple App Store to your Apple device ready to scan
-
Start Scanning
-
Produce Payroll reports
-
Adding Locations / Departments
ClickPOS will automatically add your first Location. If you have more than one location or department you may add these additional locations.
The Location can be a physical location or a department.
To Add or Edit location, go to
Maintain > Location > Add Location

2. Adding Employees and Print ID's
You need to add all employees and produce employee identification (ID's). These Ids will be used by the employee to scan in and out ultimately tracking each employees attendance.
Adding new employees
To add all your employees, basic information you need is their Name, Last name and department being worked at.
Go To Employees > Employees sub menu > Add Edit radio button
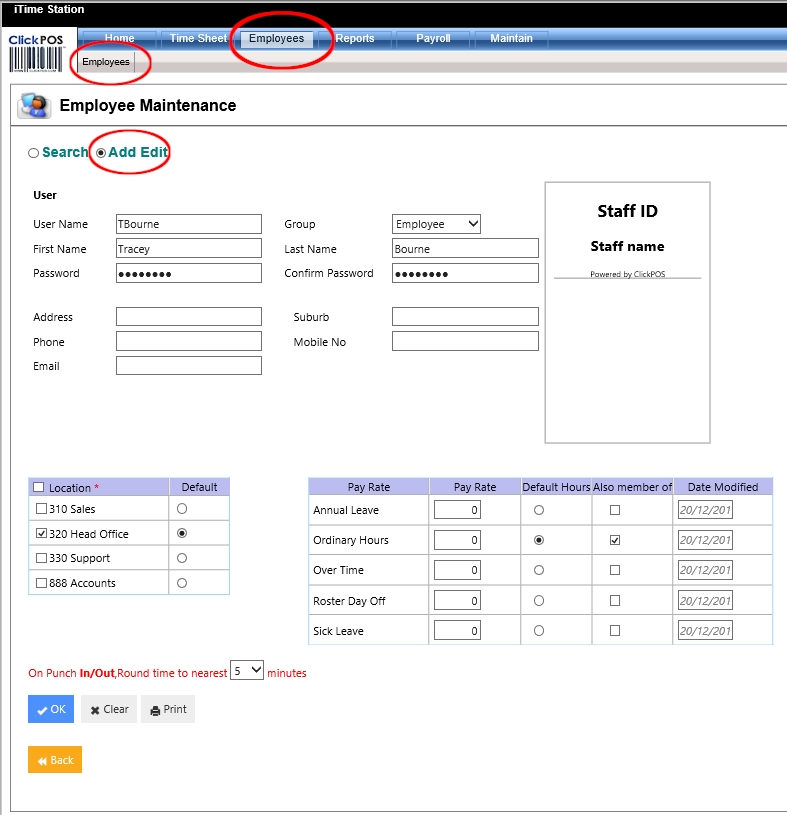
- Add a user name, usually employees initial and family name. Eg jbourne
- Select User Group, A default user group is listed as Administrator and Employee. Note that additional user groups can be added under User Groups.
- Then Name and Last name of the employee
- Enter a password for the employee.
- Select the Location and the Default location.
- Select Pay Rate Default hours and if they receive other pay Rates.
- Click OK to save,
Then “Print” the users ID. The ID's can also be screen captured and emailed to employees, Employees can save image and scan using their phones.
Note: Each time a change is made to the employee user name or password, a re-print of the Staff ID is necessary.
If you change the Company Login password, you will require to re-print ALL employees ID's.
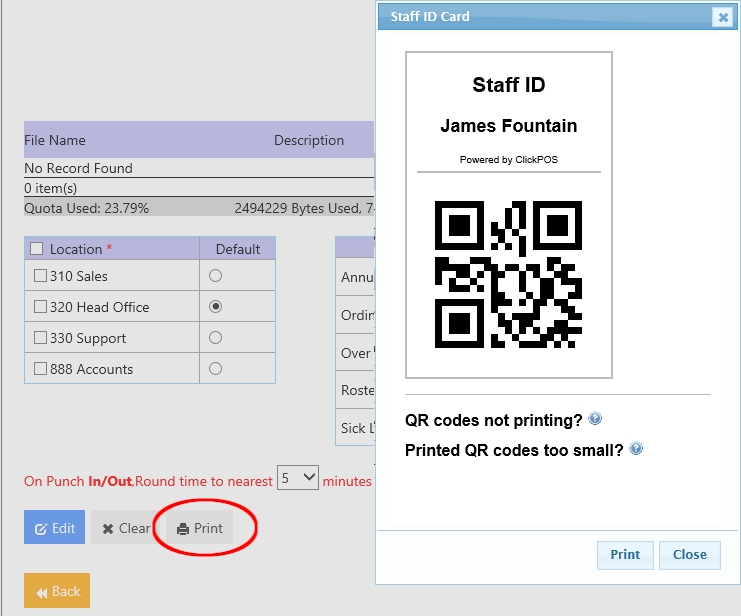
You may also print multiple IDs under the Search option. Tick several employees then select QR Code as the barcode type, then print.

3. Adding Reference (Jobs/Projects for time billing option)
This REFERENCE feature is an optional selection for when an employee Scans IN. It is useful If your company wants to track time spent on projects or jobs for billing purposes. For example, an Architectural business employee may work on several project in one day. As they start each project, they will scan in, system will list all projects and user selects the project, when employee is ready for the next project, they will scan out from current project, then scan back in again, selecting the new project. This section will be covered in the Apple App below.
To Add a new reference (Project/job), go to Maintain > Reference
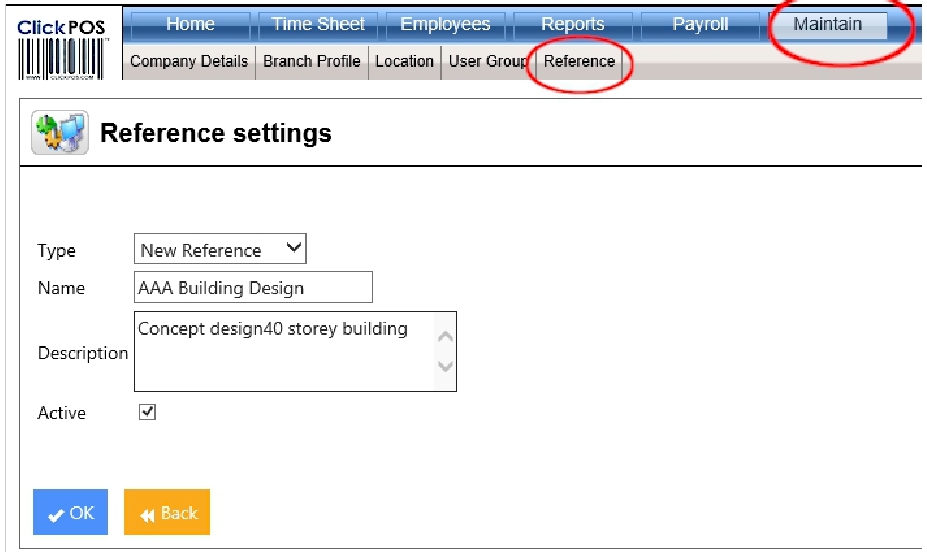
Below is an example of the Reference selection given when employee scans IN. Employee selects the Reference which can be reported later, showing number of hours spent on each project for time billing.
ADVANCED FEATURE : The User Group section determines if the employee has access to this Web App.
That is, if the employee being added needs to access this application to administer the system, such as adding Employees, or printing payroll reports, then they will use the “USER NAME” and “PASSWORD” in the login screen to enter their own login details. You can limit their access in the user Group permission to selected screens and functions.
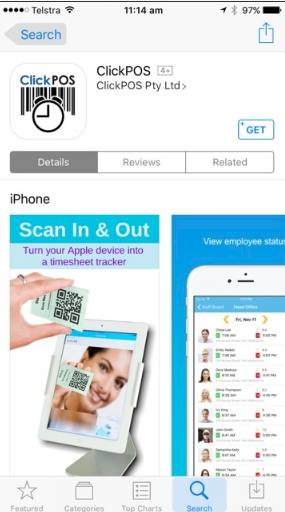
Apple App
Use your compatible Apple Device's App Store to Search "ClickPOS Timesheet", Download the app.
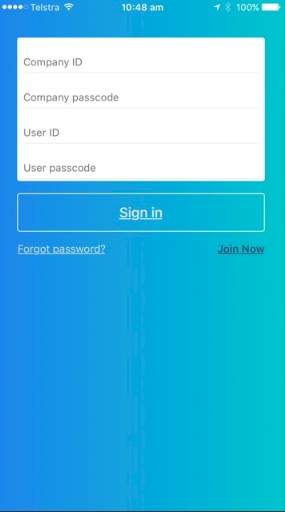
Use the login credentials emailed to you at the time of registration to login to the app
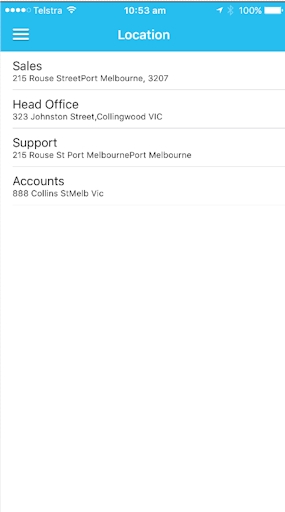
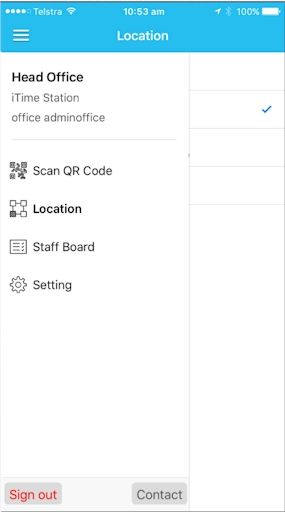
Select Location of the device.
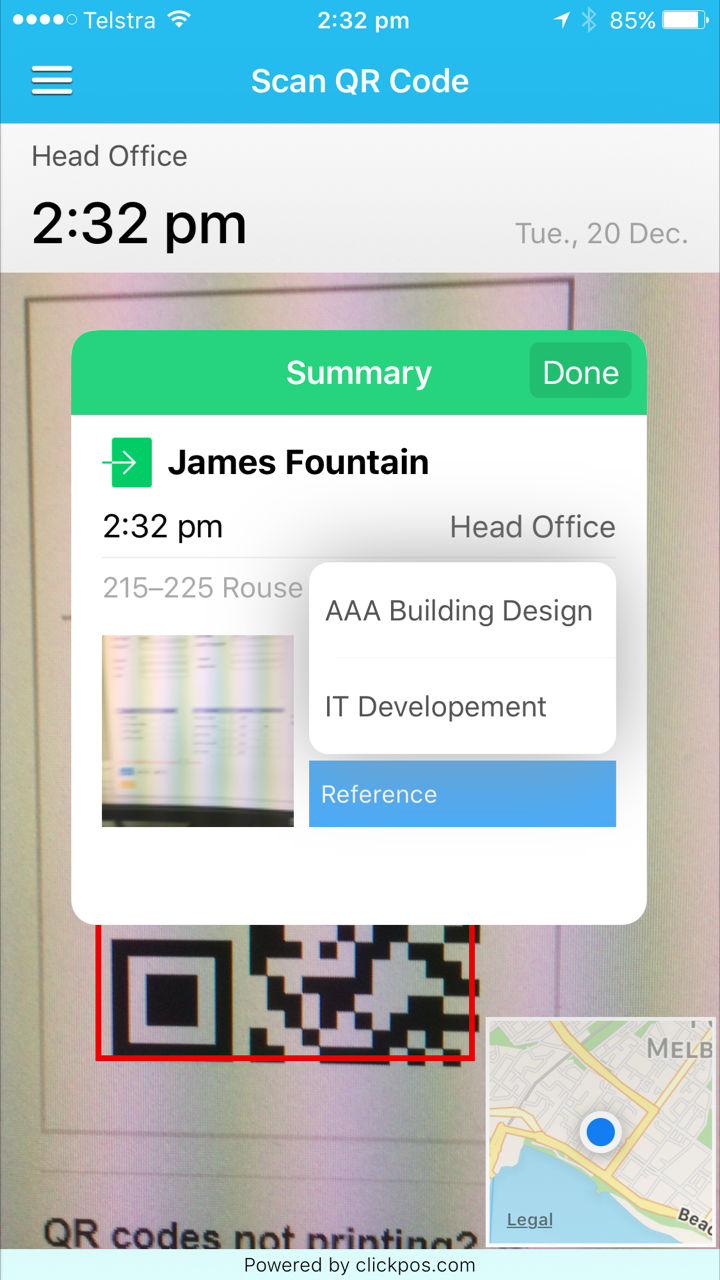
To Start Scanning, select "Scan QR Code" 
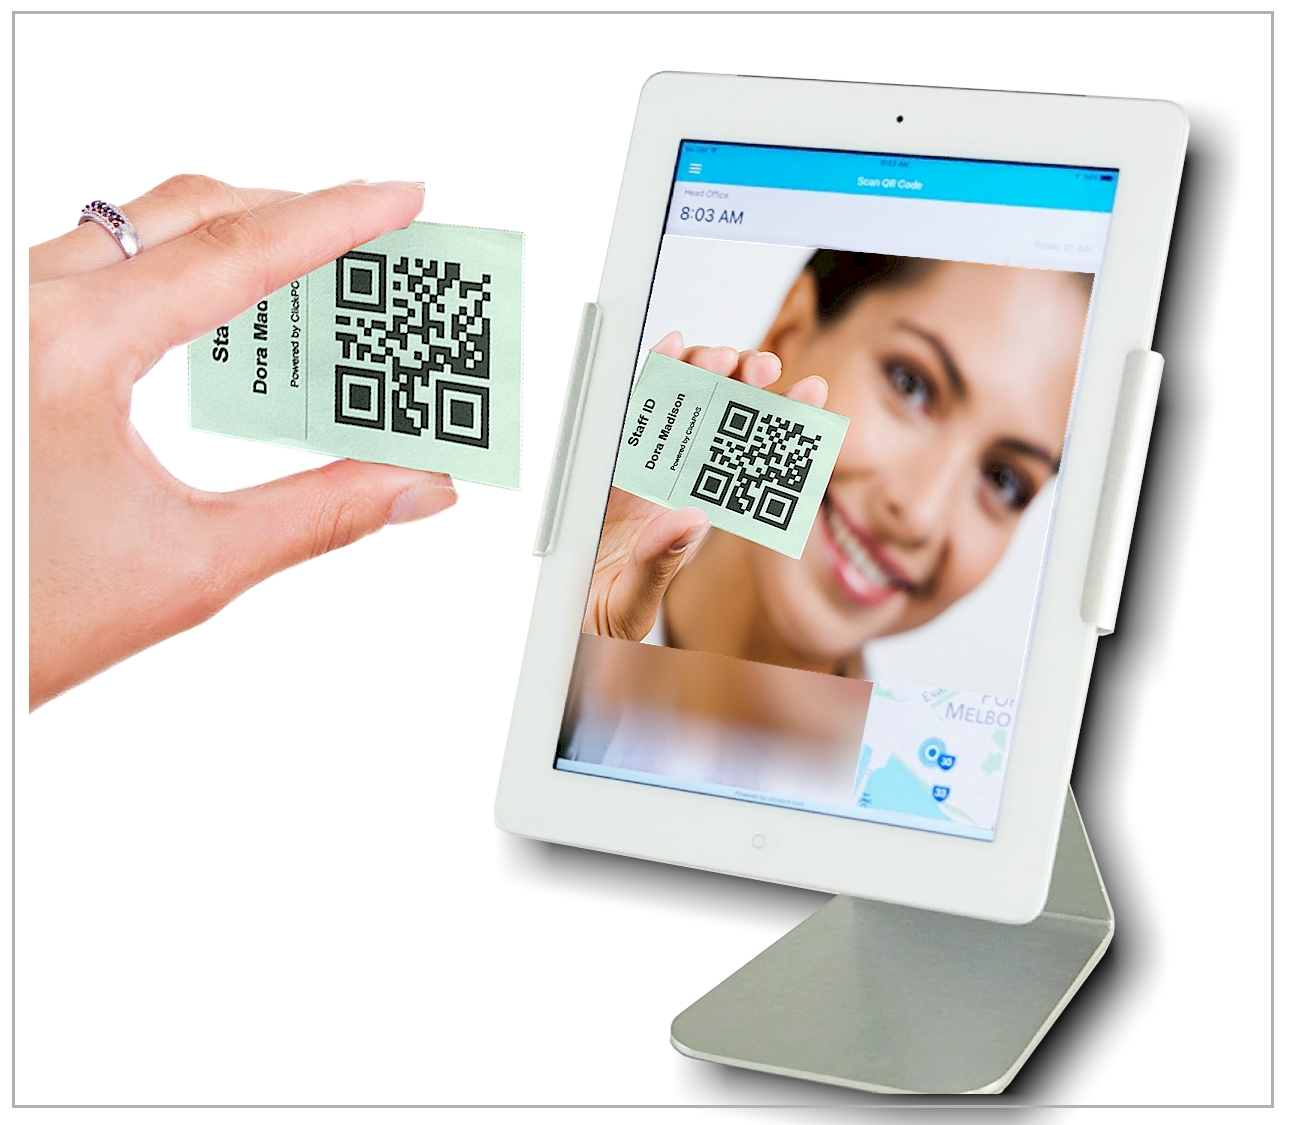
Settings and Other Options
Scan QR Code :
Screen is used as a scanner to capture the Employees attendance.
It is up to your business process on how you track your employee times. A typical time tracking can be;
A Simple time tracking
- Employee starts work in the morning, Scans IN (Message displays in GREEN coloured menu, meaning the employee has punched IN)
- Employee Goes to lunch, scans OUT, System Displays in RED coloured border menu
- After lunch Scans IN
- At 5 pm, scans out to finish the day
Time Tracking using Reference (Time billing tracking of Jobs/Projects)
- Employee starts in the morning Scans ID, The Message displays in GREEN coloured menu, meaning Employee has punched IN.
With an option of selecting a reference. USer taps ontop the Reference list, and selects the Project.
- Employee finishes working on the Job or project, they will Scan OUT. The system displays in RED border,
Then Scans IN to start the next project, selecting the new project REFERENCE
- Employee goes out of office for lunch break, Scans OUT. After lunch scans in again selecting the project being worked on.
- At end of day, scans OUT
Basically the employees can Scan in and out as many times in the day as each project is attended,
At the time of scanning IN, user can also add NOTES by tapping on NOTES button.
Location :
For those that are travelling to different locations to perform jobs, you may change your location on your personal Apple device. Simply scan IN at the time of arrival, and scan OUT as you leave each location.
If device is setup permanently at a location then you will not require to change Location.
Staff Board:
As a manager you can see all employees and time of arrival at a quick glance onto the Staff board option
Settings:
1. Passcode : Asks user to enter a password each time app is started. The default is OFF.
2. Use Back Camera : toggle between front and rear camera to capture the staff ID
3. Beep : make a sound on each scan
4. Timer setting : The timer values are in seconds.
Photo : Takes a photo of employee at the time of scanning IN or OUT, to confirm identity. Reduce to Zero if you don't want staff photo, or increase the time to take the photo
Summary : Shows summary of time of scan and name of person.
Also displays the REFERENCE selection and NOTES. If you opted to use the REFERENCE section, then you may want to increase this timer to allow time for employee to tap onto the REFERENCE button
5. Result : Displays a summary of days work for employee.
Other useful functions
Manual punch IN/OUT : Use the web app to add or edit time for employees for example tracking employee absentees.
Simply login to the Web App, go to Time sheet menu and follow the instructions to add or edit times.
Verify hours : You may also want to add an extra step for location manager to VERIFY each days work hours.
The verify option confirms the worked hours and payroll can proceed there after.
Reports : Produce reporting from predefined reports for payroll or time billing for each project.